Intial Node Server Setup
Ubuntu Server Setup
Create a Bootable USB Stick
- Windows
- macOS
- Linux
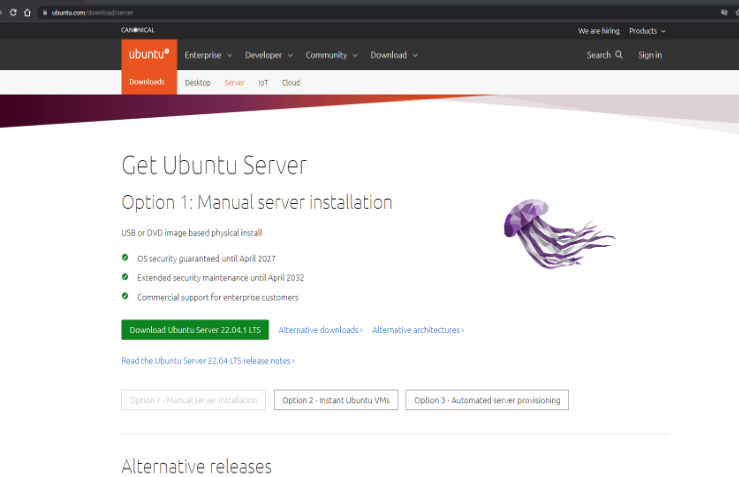
- Visit the Ubuntu Server download page: Ubuntu Server. Click on the version labeled 'Ubuntu Server 22.04 LTS' to download it.
- Download Rufus to create a bootable USB drive from this page: Rufus.
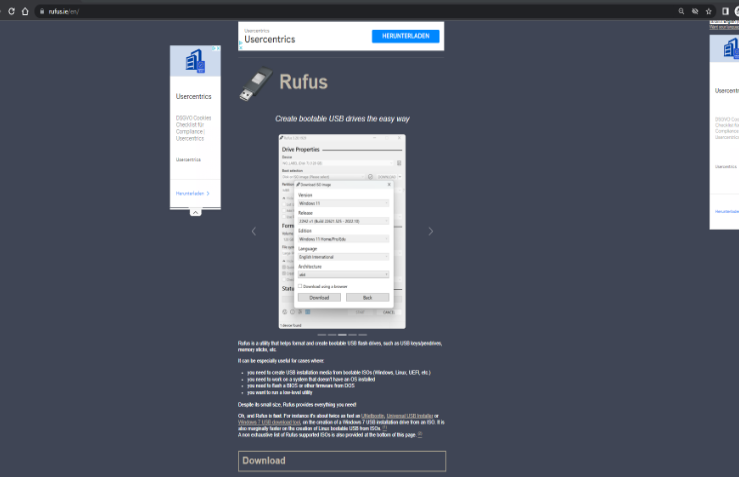
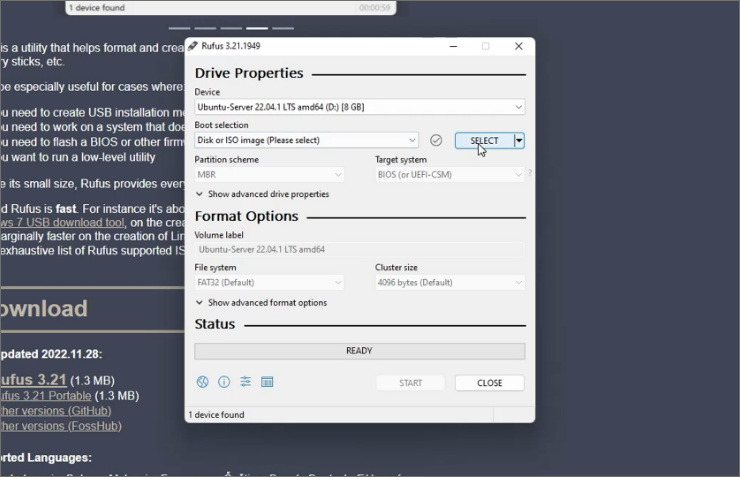
- Open Rufus once it has downloaded.
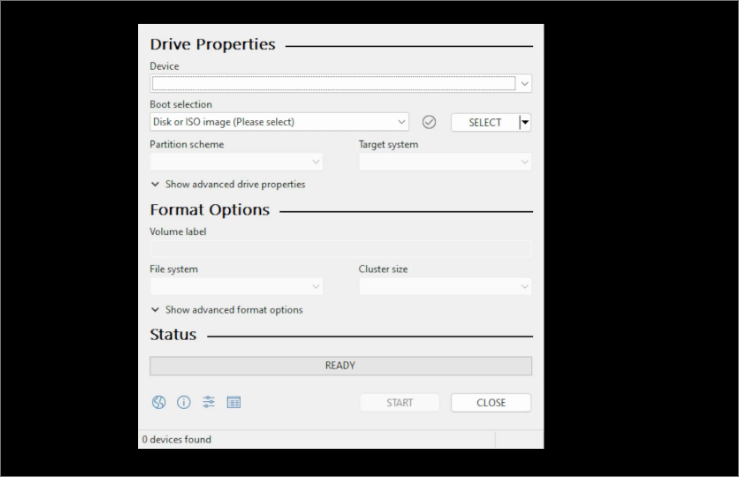
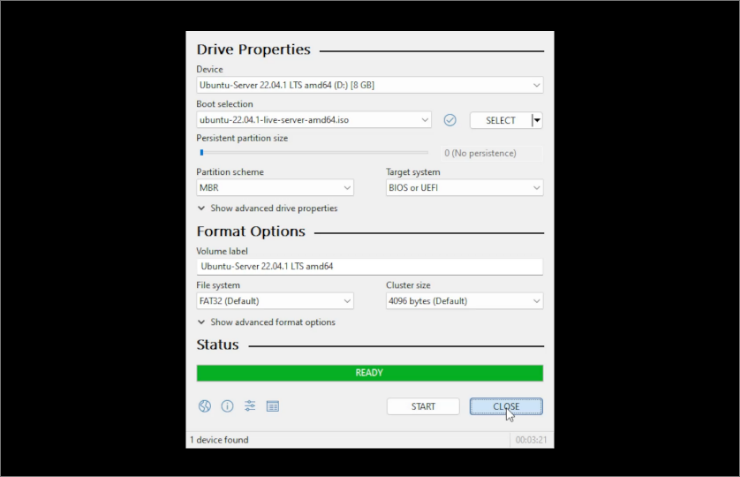
- Insert your USB stick (minimum 4 GB) into the computer. Rufus should detect your USB stick automatically. If it doesn't appear, select it manually from the 'Device' dropdown menu in Rufus.
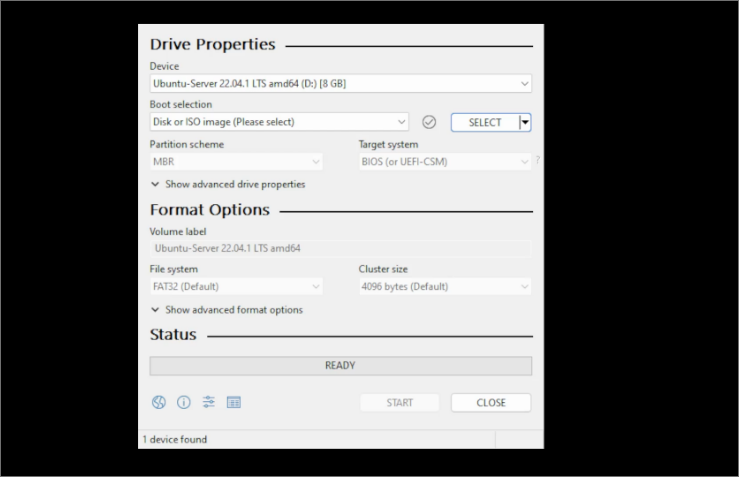
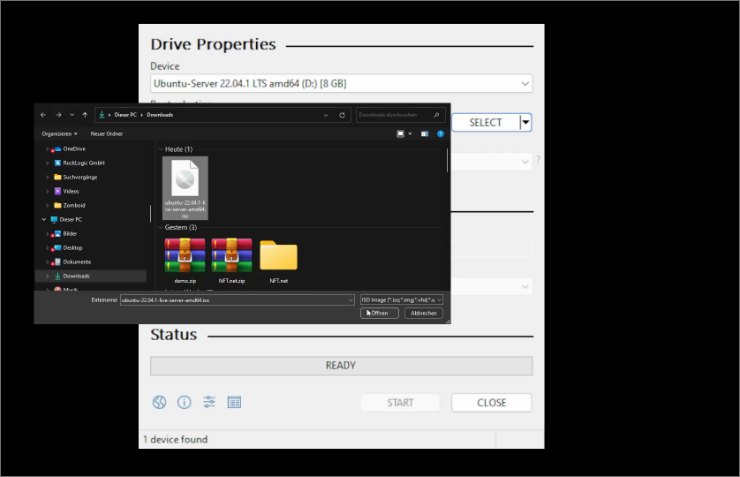
- In Rufus, next to 'Boot selection', click on the 'SELECT' button. Navigate to where you saved your Ubuntu Server download (the ISO file) and select it.
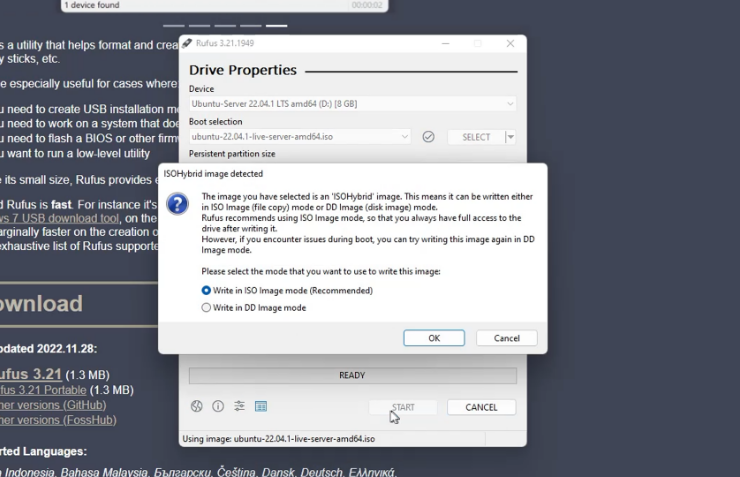
- Leave all other settings in Rufus at their default values. Press 'START' to begin creating your bootable USB.
- A warning may pop up about Rufus changing the ISO image mode. Confirm that you want to continue in 'ISO Image mode' by clicking 'OK'.

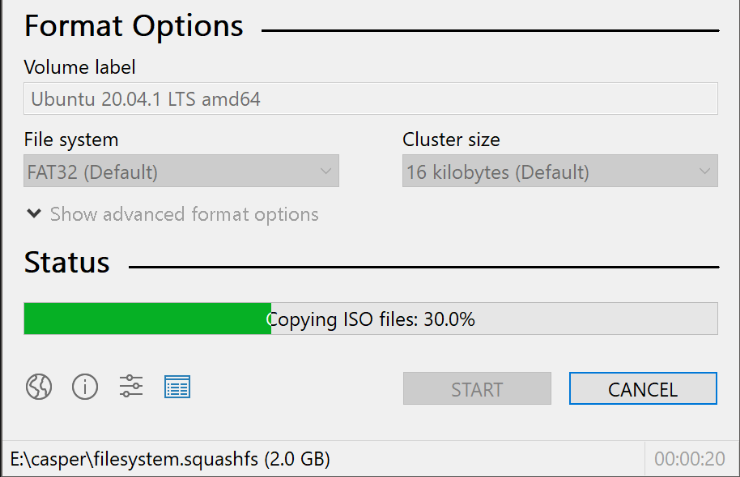
- The creation of the bootable USB will begin. This process may take around 10 minutes, depending on your computer's capabilities.
- Once Rufus confirms that the process is complete, you can close Rufus and remove your USB stick.
- Your Ubuntu Server bootable USB stick is now ready. Move on to the server setup by following the guide in Part 2 below.
- Go to the Ubuntu Server download page: Ubuntu Server and download the version labeled 'Ubuntu Server 22.04 LTS'.
- Insert the USB stick into your Mac. Check that it has at least 2 GB of space available.
- Open the 'Disk Utility' application found in the 'Utilities' folder within your 'Applications' folder.
- In 'Disk Utility', select your USB stick from the devices listed on the left, then click on the 'Erase' button at the top of the window.
- Name your USB stick something memorable, select 'Mac OS Extended (Journaled)' as the format, and then click 'Erase' to start the process.
- Once the erasure is complete, close 'Disk Utility'.
- Open the 'Terminal' application, also found in the 'Utilities' folder.
- Convert your downloaded ISO file to an IMG format by typing the following command in Terminal:
hdiutil convert -format UDRW -o /path/to/your_new.img /path/to/downloaded.iso. Replace '/path/to/your_new.img' and '/path/to/downloaded.iso' with the actual paths to where you want the new IMG file saved and where your downloaded ISO file is located. - Find the device identifier for your USB stick by typing
diskutil listin Terminal. - Unmount your USB device with:
diskutil unmountDisk /dev/diskN. Replace 'diskN' with the identifier from step 9. - Write the IMG file to your USB stick with the following command:
sudo dd if=/path/to/your_new.img of=/dev/rdiskN bs=1m. Again, replace '/path/to/your_new.img' and '/dev/rdiskN' with the appropriate paths and identifiers. - When the process is complete, you can remove your USB stick.
- Your bootable USB stick with Ubuntu Server is ready. Proceed to the next setup phase in Part 2 below.
ToDo: Detailed instructions for creating a bootable USB stick on Linux will be added here.
Booting from USB and Installing Ubuntu
- With the machine off, insert your bootable USB.
- Turn on the machine and immediately press the F11/F12 or Delete key to open the boot menu.
- Choose your USB as the primary boot option and save your changes.
- At the Ubuntu boot screen, select 'Try to install Ubuntu Server'.
- Follow the on-screen instructions to set your language, keyboard layout, and network settings.
- Accept all defaults for proxy and mirror settings.
- Verify that the displayed storage matches your server's specs before continuing with the installation.
- Complete the forms for server name, username, and password. Skip Ubuntu Pro upgrade and additional snaps installation.
- After installation, select 'Reboot Now'. Once rebooted, use
hostname -ito note your server's IP address.